
Connect Stripe to accept online payments
Connecting Stripe lets your tenants pay rent online by card or bank account, with the money flowing to your bank account through Stripe. TenantLedger uses Stripe to create a secure link between your bank and your tenants’ online payments — you never handle card numbers yourself, and Stripe deposits (“payouts”) the money to your bank.
Before you start
- Online payments must be enabled for your account. If you don’t see an Online Payments tile on the Settings page, it isn’t turned on for your plan — contact support to ask about it. (It may not be enabled for every account.)
- Have your business and bank details ready; Stripe will ask for them during sign-up.
Steps
Connect Stripe
-
In the top navigation bar, click the Settings gear, then click Settings (or use Settings in the left sidebar).
-
On the Settings page, click the Online Payments tile.
-
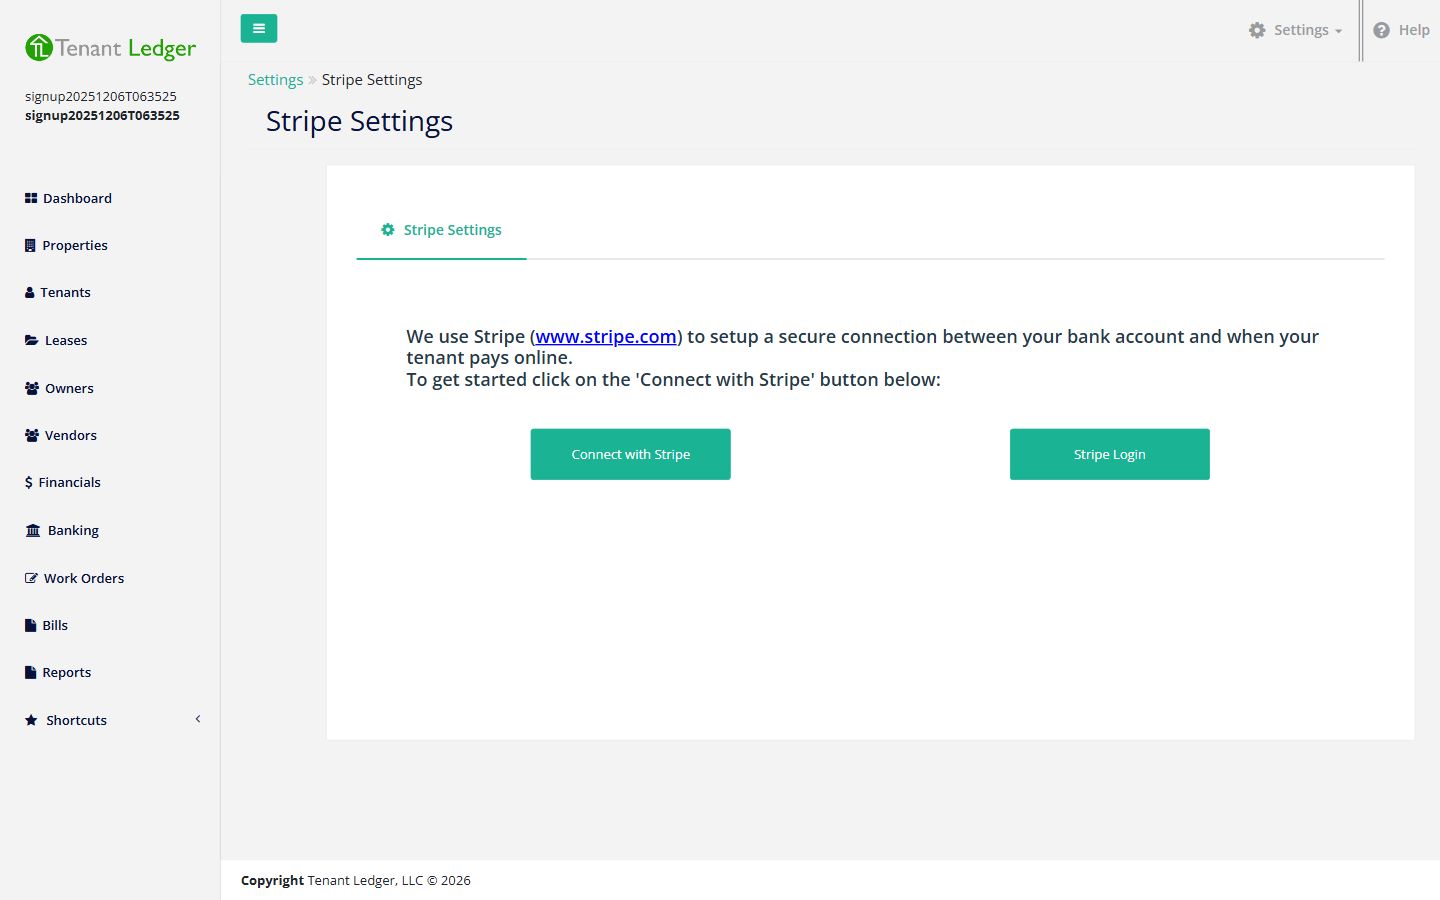
Click Connect with Stripe.
-
You’ll be taken to Stripe to either sign in to an existing Stripe account or create a new one. Follow Stripe’s prompts to provide your business and bank information.
-
When you finish, Stripe returns you to TenantLedger’s Stripe Settings page, now showing the connection as active.
Set who pays the processing fee
On the Stripe Settings page you can choose whether the tenant or you absorb Stripe’s processing fee:
- Set Tenant Pays Stripe Fee to Yes or No.
- If Yes, choose a Default Chart of Account to record the fee against.
- Save.
When set to Yes, the fee is added on top of the tenant’s payment; when No, the fee comes out of what you receive.
Disconnect (turn off online payments)
- Return to the Stripe Settings page (Settings → Online Payments tile).
- Click Disconnect with Stripe.
- A confirmation window appears — confirm to disconnect.
Disconnecting unlinks your Stripe account from TenantLedger, so tenants can no longer pay online through the portal. It doesn’t touch your Stripe account itself or any past payouts — it only ends the connection. You can reconnect later by running the connect flow again.
What you’ll see
After connecting, the Stripe Settings page is organized into tabs:
- Settings — your connection status, the Tenant Pays Stripe Fee option, and the Disconnect with Stripe button. A Stripe Login button opens your Stripe dashboard in a new tab.
- Recent Payments — online payments your tenants have made (the tab shows a count badge when there are recent ones).
- Recent Payouts — the deposits Stripe has sent to your bank account.
Tips
- Stripe charges standard processing fees — typically 2.9% + 30¢ per transaction for domestic cards and digital wallets, and 0.8% (capped at $5.00) for bank-account (ACH) payments. The Stripe Settings page lists the current fee details.
- Once connected, tenants who have portal access can pay online from the tenant portal. Make sure your tenants are set up with portal access so they can use online payments.
- Payouts arrive on Stripe’s schedule, so the money lands in your bank a little after a tenant pays. Use the Recent Payouts tab to track what’s been deposited.
- Use Stripe Login to open your full Stripe dashboard for refunds, disputes, and detailed transaction history that lives on Stripe’s side.
Related articles
Still stuck? Email support@tenantledger.com and a real person who knows the product will help.