
Add a category
What this is
Categories are the labels you put on work orders to describe the kind of work involved — for example “Plumbing”, “Electrical”, “HVAC”, or “General Maintenance”. You set them up once here, then pick one each time you create a work order. Good categories make it easy to sort and report on your maintenance.
When to use it: add a category whenever you want a new type of work to choose from on the work order form.
Before you start
- None.
Steps
-
In the top navigation bar, click the Settings menu (the gear icon, top right), then click Settings.
-
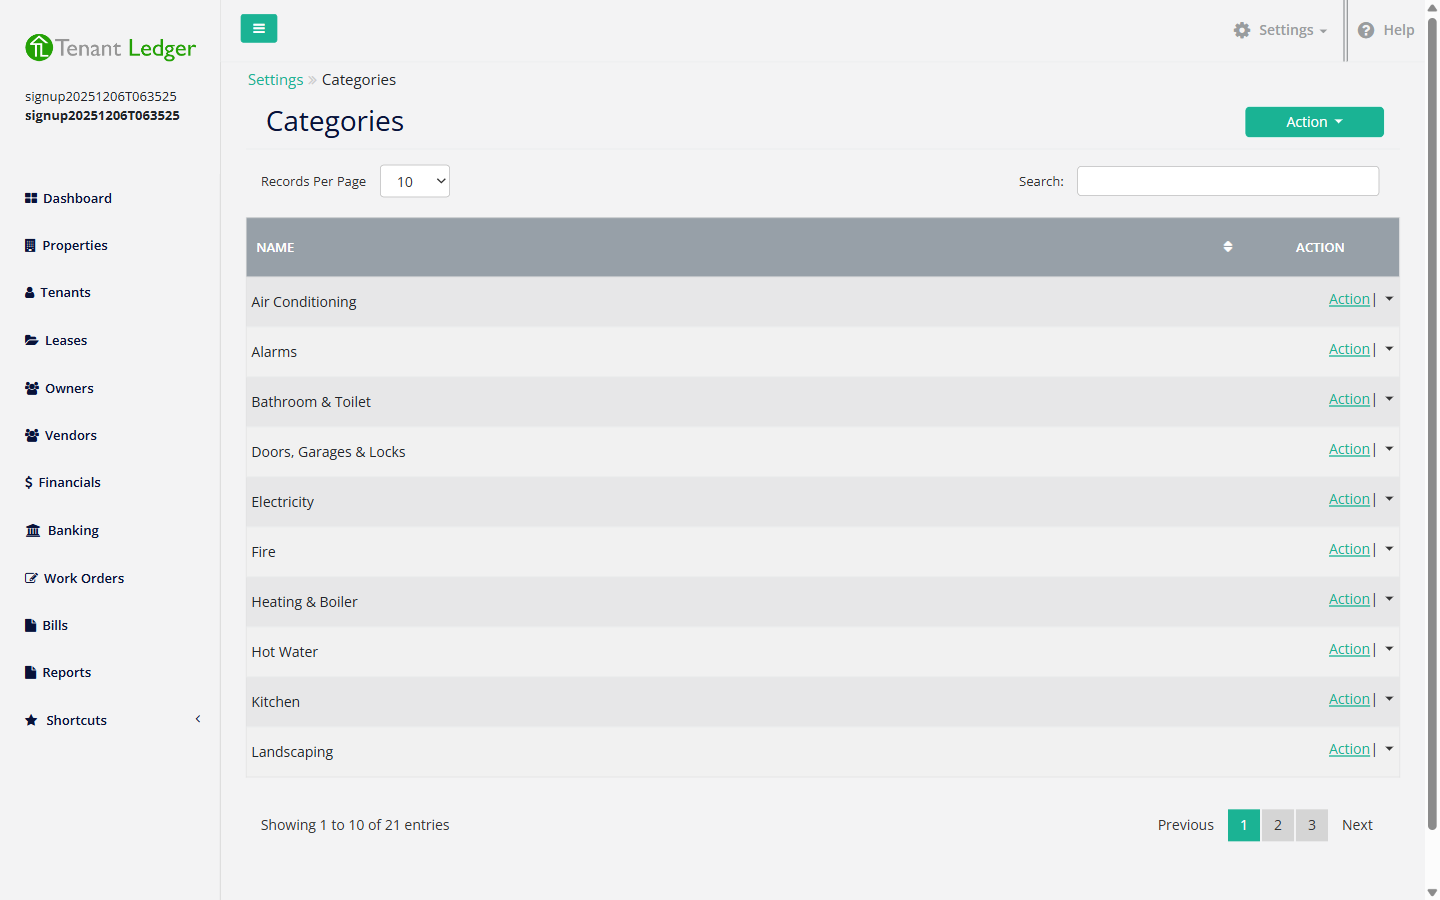
On the Settings page, click the Category tile. You’ll see a list of any categories you’ve already created.
-
Click the Action button (top right), then click Add Category. If you have no categories yet, click Add Your First Category in the center of the page instead.
-
A small pop-up appears. In the Category box, type the name of the category, for example “Plumbing”. Keep it short — this is exactly what you’ll see in the work order dropdown.
-
Click Save.
What you’ll see
The pop-up closes and the new category appears in your Categories list. It’s now available to choose the next time you create or edit a work order.
Tips
- Keep names short and consistent (for example, “HVAC” rather than “Heating, Ventilation and Air Conditioning”) so they’re quick to scan and pick.
- Avoid creating near-duplicates like “Plumbing” and “Plumber” — pick one naming style and stick to it.
Related articles
Still stuck? Email support@tenantledger.com and a real person who knows the product will help.