
Add a bank account
A bank account in TenantLedger is a record of one of your real-world accounts (an operating checking account, a savings reserve, a security-deposit trust account, and so on). It is the hub of everything on the money side of the app: you record deposits into it, pay bills out of it, print checks from it, and reconcile it against your monthly bank statement.
When to use it: add a bank account the first time you set up the app, and again any time you open a new real account you want to track here. You can keep as many accounts as you actually use — most landlords have at least an operating account and a reserve account, and many keep a separate trust account for tenant security deposits.
Before you start
- None. You can add a bank account at any time.
- If you plan to print checks from this account, have your routing number, account number, next check number, and check fractional number handy (the fractional number is the small fraction printed near the top of a pre-printed check).
- Have your most recent bank statement nearby. You’ll use its closing balance and date as the account’s starting point so your first reconciliation lines up cleanly.
Steps
-
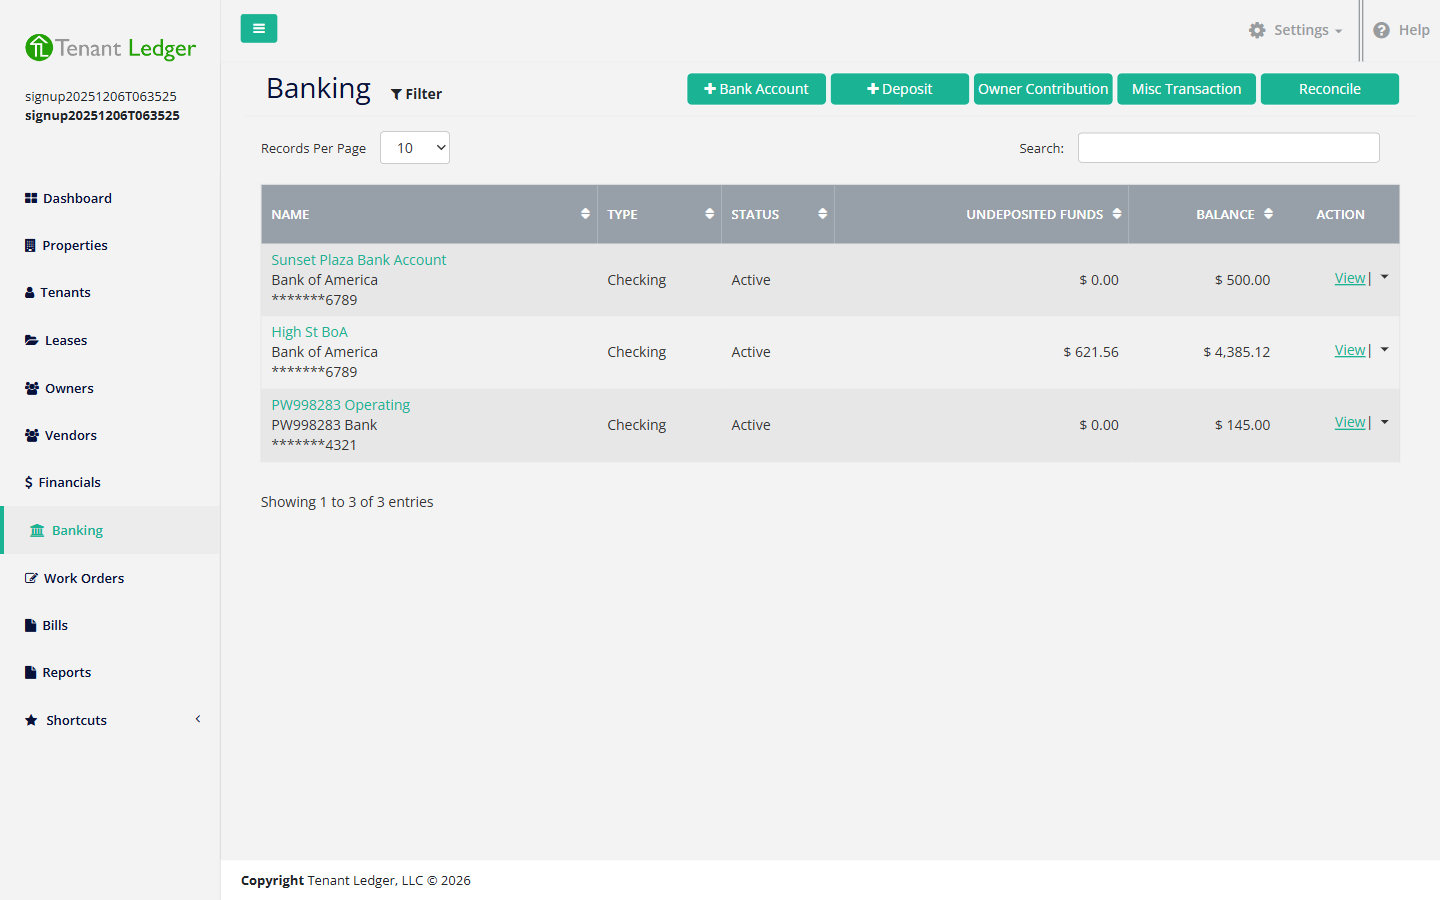
In the left sidebar, click Banking.
-
Click the + Bank Account button near the top right of the Banking page. The Add Bank Account screen opens.
-
Fill in the Bank Details:
- Bank Name (required) — the name of the financial institution, for example “First National Bank”. This is what prints on checks.
- Account Name (required) — a short label that helps you recognize the account in dropdowns and lists, for example “Operating Checking” or “Security Deposit Trust”.
- Address, Country, State, City, Bank Zip — optional location details for the bank. Country, State, and City are cascading dropdowns: pick the country first, then the state fills in, then the city.
- Account # and Routing # — optional, but both are needed if you want to print checks. The account number is masked in lists (only the last four digits show) for security.
- Bank Type (required) — choose Checking or Savings. This only labels the account; it doesn’t change how it behaves.
- Next Check Number — the number that should print on the next check you write from this account. The app advances it automatically after each printed check.
- Start Amount (required) — the account’s opening balance as of the start date you set below. Use the closing balance from your most recent statement.
- Bank Start Date (required) — the date the start amount is accurate as of. Defaults to today; set it to your statement’s closing date.
- Status (required) — leave as Active for accounts you’re using. (You can switch it to Inactive later to hide an account you’ve closed without losing its history.)
-
(Optional) Fill in Check Details if you’ll print checks from this account:
- Check Fractional # — the fraction printed on your pre-printed check stock.
- Override Company Info on Check — choose Yes to print a different name and address on the check than your company default (useful when the account is held under a different entity), then fill in the override lines that appear. Leave it No to use your company information.
- Check Layout — pick the layout that matches your check stock, for example “Check on Top, 2 Vouchers Below”. Leaving this set to None means you won’t be able to print checks from this account until you edit it and choose a layout.
- Check Stock Style — choose Blank Stock (the app prints the full check including the bank lines) or Pre-printed Stock (the app prints only the variable details onto checks you already have printed).
-
Click Save.
What you’ll see
After saving, you land on the bank account’s Summary page with a confirmation that the account was created. The account now appears on the Banking list, where its balance and undeposited-funds total show, and it becomes selectable wherever you record deposits, pay bills, and reconcile. From the Summary page’s Action menu you can record deposits, reconcile, edit the account, or delete it.
Tips
- Set the Start Amount and Bank Start Date to match your last bank statement so your first reconciliation lines up cleanly.
- You don’t have to complete the Check Details now. If you leave Check Layout as None, you simply won’t be able to print checks from this account until you edit it and choose a layout. See Print a check.
- To stop using an account without deleting its history, edit it and set the Status to Inactive. Inactive accounts are hidden from the default Banking list. See Edit a bank account.
Related articles
Still stuck? Email support@tenantledger.com and a real person who knows the product will help.